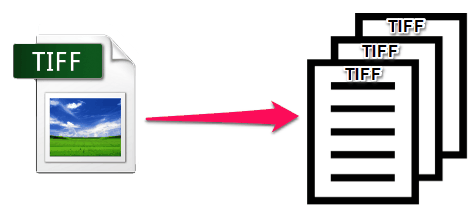
Tag Image File Format, abbreviated TIFF or TIF, is a computer file format for storing raster graphics images, popular among graphic artists, the publishing industry, and photographers. TIFF is different from JPEG, GIF, and PNG because it is an “uncompressed” format. The TIFF files have the capability to store multiple images, each having multiple channels. Typically, these multiple images represent the sequential frames in a time-stack or z-stack of images, and hence each of these images has the same dimension.
Other options we get in TIFF are layers and pages where the layer can be compared to transparency on which imaging effects or images are applied and placed over or under an image. As shown in the image below, the image is showing multiple layers it has. In this article, we are going o discuss the steps on how to extract frames from multi-frame TIFF images using Aspose.Imaging Cloud SDK for .NET.

Installation of SDK
Aspose.Imaging Cloud SDK for .NET is a programming SDK developed on top of Aspose.Imaging Cloud API and provides all image manipulation capabilities to .NET developers. So the first step is to install the SDK which is available for download at NuGet and GitHub. Execute the following command to install the SDK from the NuGet library.
Install-Package Aspose.Imaging-Cloud
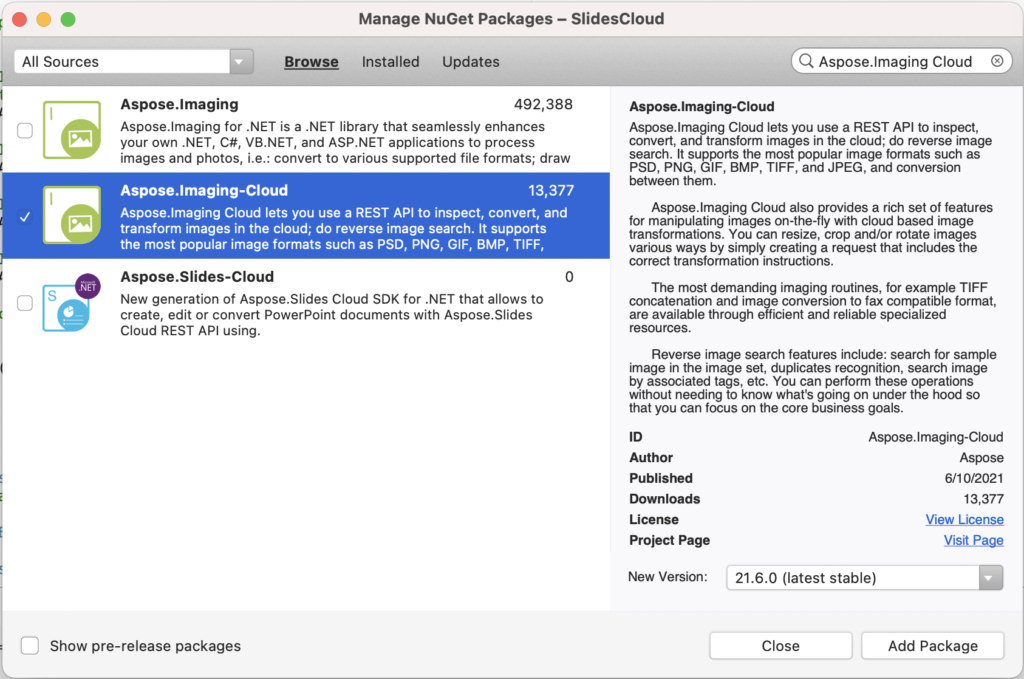
Or as an alternative, you may add the package using NuGet package manager in Visual Studio as shown below. You may consider visiting the following link for further details on How to install Aspose.Cloud SDKs.
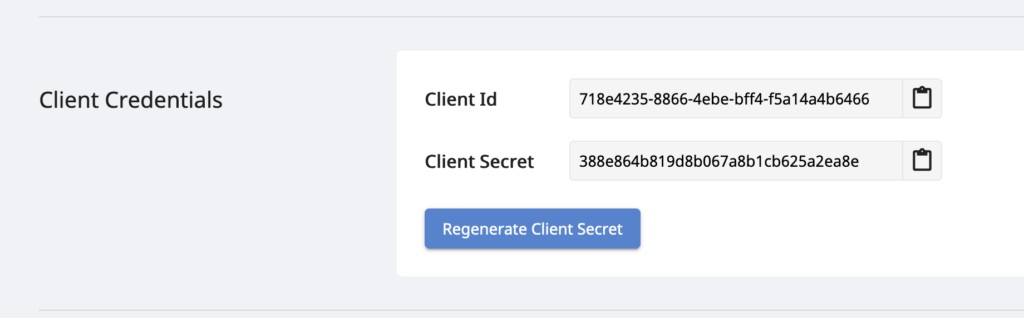
Now in order to use the SDK, the next step is to obtain your personalised ClientID and ClientSecret details. Therefore, the first step is to create an account by visiting Aspose.Cloud dashboard. If you have GitHub or Google account, simply Sign Up. Otherwise, click on the Create a new Account button and provide the required information. Now login to the dashboard using credentials and expand the Applications section from the dashboard and scroll down towards the Client Credentials section to see Client ID and Client Secret details.
Extract TIFF frames using the cURL command
First, we are going to discuss the extraction of TIFF frames using the cURL command as they are one of the convenient ways of accessing REST APIs on any platform. Irrespective of the platform and underlying architectural complexities. So in order to use the cURL commands, the first step is to generate JSON Web Token (JWT) based on your ClientID and ClientSecret details retrieved from Aspose.Cloud dashboard. Please execute the following command in the terminal to generate the JWT token
curl -v "https://api.aspose.cloud/connect/token" \
-X POST \
-d "grant_type=client_credentials&client_id=718e4235-8866-4ebe-bff4-f5a14a4b6466&client_secret=388e864b819d8b067a8b1cb625a2ea8e" \
-H "Content-Type: application/x-www-form-urlencoded" \
-H "Accept: application/json"
Before proceeding further, please note that the frame can be extracted using one of the following two APIs:
The first API expects you to first upload an image to Cloud Storage then pass its name in the API URL. After updating the image parameters, the API returns the updated image in the response.
On the other hand, with the second API, you can directly pass the image in the request body. It also lets you save the updated image on the Cloud Storage by specifying the outPath parameter value. However, if you do not specify the value, the response contains a streamed image.
Now use the following command to extract the 4th frame from TiffSampleImage.tiff image already uploaded on cloud storage.
curl -v -X GET "https://api.aspose.cloud/v3.0/imaging/TiffSampleImage.tiff/frames/4?saveOtherFrames=true" \
-H  "accept: application/json" \
-H  "authorization: Bearer <JWT Token>" \
-o myresultant.tiff
How to extract TIFF frames in C#
In this section, we are going to extract the TIFF frame using C# .NET. Please follow the steps given below
- The first step is to create an object of ImagingApi while providing ClientID and ClientSecret as arguments
- Create a string object defining input TIFF image
- In order to specify the frame to be extracted, create an integer
- Create integer objects to specify the dimensions of the extracted frame
- The next step is to create an object GetImageFrameRequest which takes input TIFF name, frameID, and other parameters related to extracted frame dimensions as arguments
- Penultimate, call GetImageFrame(..) method of ImagingApi which takes GetImageFrameRequest object as input argument
- Finally, save the output to load the drive
Please note that rotateFlipMethod property can have one of the following values
RotateFlip method (Rotate180FlipNone, Rotate180FlipX, Rotate180FlipXY, Rotate180FlipY, Rotate270FlipNone, Rotate270FlipX, Rotate270FlipXY, Rotate270FlipY, Rotate90FlipNone, Rotate90FlipX, Rotate90FlipXY, Rotate90FlipY, RotateNoneFlipNone, RotateNoneFlipX, RotateNoneFlipXY, RotateNoneFlipY). Default is RotateNoneFlipNone.
Conclusion
The extraction of TIFF frames from multi-frame TIFF has been explained in the above article. Apart from frame extraction, the API enables you to resize the TIFF frames, Get TIFF frame properties, Crop a TIFF frame, RotateFlip a TIFF frame, etc. In case you encounter any issues while using the API, please feel free to contact us via a free support forum.
We also suggest you to go through following links for more information on