This article helps you set up Java App on Heroku Platform. It explains how to use Aspose.Email Cloud for email sending using a Java App in cloud.
Heroku is a platform as a service (PaaS) that enables developers to build, run, and operate applications entirely in the cloud. This blog guides you on how to deploy a Java App to Heroku and also, enables you to understand Aspose.Email Cloud, and how to use it for email sending using Heroku Java App. As a prerequisite, you shall have a free Heroku Account setup and Java 8 and Maven 3 installed locally. The reason we have picked maven build type in this article is because, it is a powerful project management tool that is based on POM (project object model) primarily for Java projects.
- Maven makes the day-to-day work of Java developers easier and generally helps with the comprehension of any Java-based project. Let’s get started!
- Setup Heroku
- Setup Aspose.Email Cloud
- Email Sending using Aspose.Email Cloud
- Deploy to Heroku
- Conclusion
Setup Heroku
To get started you first need to install the Heroku Command Line Interface (CLI). Heroku CLI is used to manage and perform various scalability tasks. You can use this to provision add-ons, view your application logs, and run your application locally. If you are using macOS, you can use Homebrew to install it or can visit the official Heroku.
brew install heroku/brew/heroku
Once the installation is done you can run the following command to authenticate Heroku to be used locally.
heroku login
heroku: Press any key to open up the browser to login or q to exit
 ›   Warning: If browser does not open, visit
 ›   https://cli-auth.heroku.com/auth/browser/\*\*\*
heroku: Waiting for login...
Logging in... done
Logged in as me@example.com
This command opens your browser to the Heroku login page for authentication. This is required for both Heroku and git commands to work properly
Setup Aspose.Email Cloud
Aspose.Email Cloud is a Cloud SDK to send, receive, append, flag, and convert cloud emails & support to create a folder structure for email archiving in the cloud. This is easy to use and fast API, that doesn’t need to install the additional software. The API supports many programming languages, such as C#, Java, PHP, Python, Ruby & Typescript. To set up Aspose.Email Cloud follows the instructions as below.
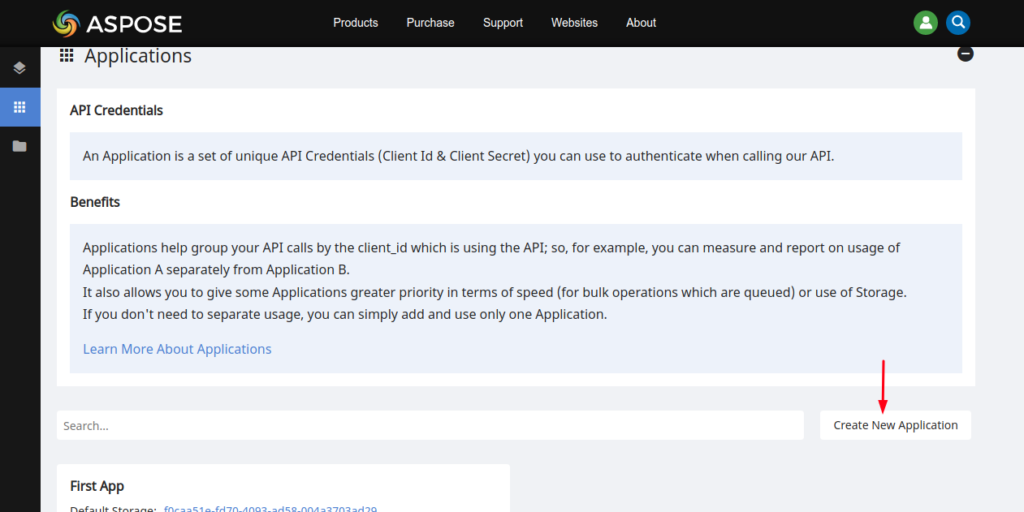
Login to Aspose.Cloud Dashboard and click the Applications tab in the left sidebar. Now scroll down, click Create New Application button as shown in the image below.
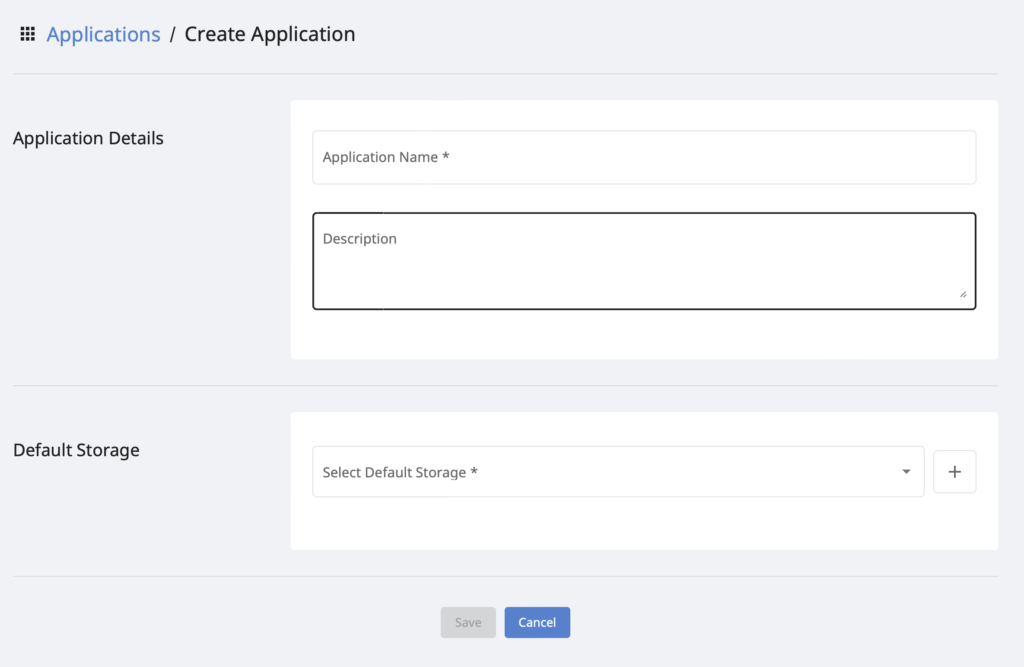
Now create your new application by selecting your default storage as shown in the image below. You can also configure third-party storage to upload your data files by following how to configure 3rd party cloud storage guide.
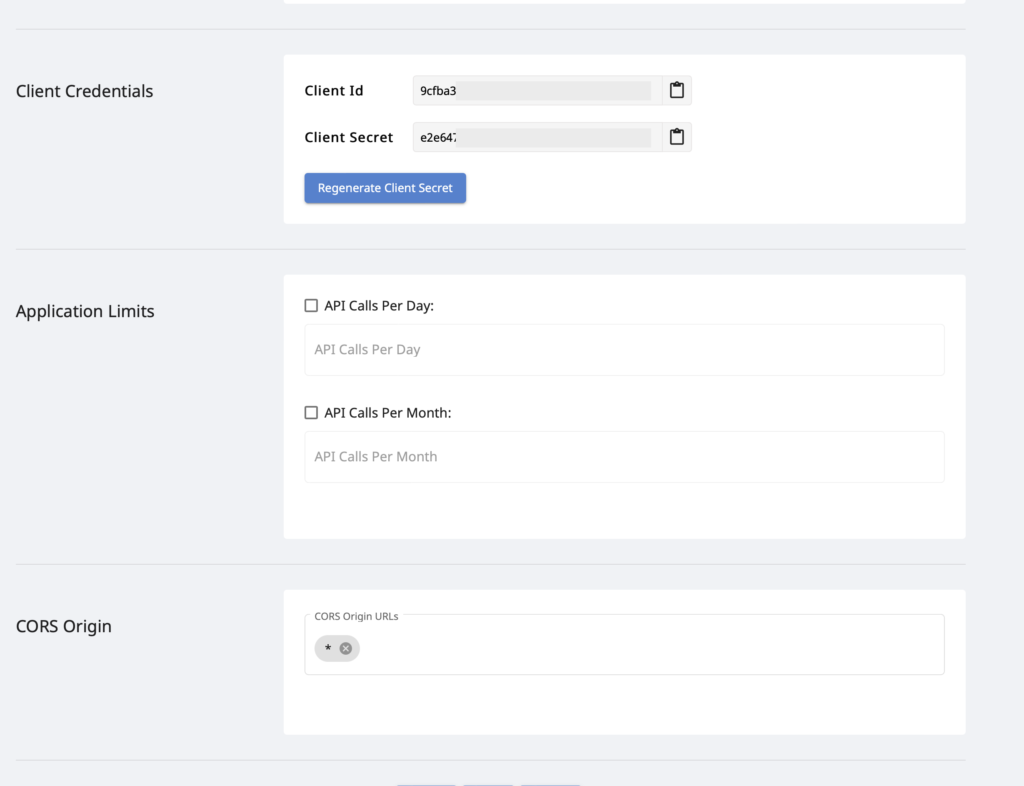
Now, scroll down towards the Client Credentials section to copy Client Id and Client Secret as shown in the image below.
Email Sending using Aspose.Email Cloud
Assuming you’ve already installed Java 8 and Maven 3. You now have a functioning git repository that contains a simple application. This functioning Git repository should contain a simple Java application. The application includes a Procfile, a special plaintext file used by Heroku apps. You explicitly declare the processes and commands used to start your app in this file.
The Procfile in the example app source code looks like this:
web: java -jar target/java-getting-started-1.0.jar
This file declares a single process type, web, and the command needed to run it. The name web is important. It declares that this process type attaches to Heroku’s HTTP routing stack, and is able to receive web traffic. Procfiles can contain additional process types. For example, you can declare a background worker that processes items off a queue. The example app should also include a pom.xml file, which is used by Java’s dependency manager, Maven. Heroku automatically identifies an app as a Java app if it contains a pom.xml file in the root directory.
Another file, system.properties, indicates the version of Java to use. The contents of this optional file look like this:
java.runtime.version=1.8
First add the repository in your project
<repository>
    <id>aspose-cloud</id>
    <name>Aspose.Cloud repository</name>
    <url>https://repository.aspose.cloud/repo</url>
</repository>
and then add the dependency
<dependency>
    <groupId>com.aspose</groupId>
    <artifactId>aspose-email-cloud</artifactId>
</dependency>
add the following code in your project for email sending
import com.aspose.email.cloud.sdk.invoker.ApiException;
import com.aspose.email.cloud.sdk.model.\*;
import com.aspose.email.cloud.sdk.api.\*;

EmailCloud api = new EmailCloud("Your Client secret", "Your Client id");

EmailClientAccountPasswordCredentials credentials =
    new EmailClientAccountPasswordCredentials(
        "example@gmail.com", "password");

// Setup an email account for email sending
EmailClientAccount sendAccountDto = new EmailClientAccount(
    "smtp.gmail.com", 465, "SSLAuto", "SMTP", credentials);
String smtpAccount = "smtp.account";
String smtpLocation = new StorageFileLocation(
    storageName, accountFolder, smtpAccount);
api.client().account().save(new ClientAccountSaveRequest(
    smtpLocation, sendAccountDto));

EmailDto email = new EmailDto()
    .from(new MailAddress().address("example@gmail.com"))
    .addToItem(new MailAddress().address("to@aspose.com"))
    .subject("Some subject")
    .body("Some body");

api.client().message().send(
    new ClientMessageSendRequest(
        smtpLocation, new MailMessageDto(email)));
Deploy to Heroku (Java App)
Once you are done with all your changes and ready to deploy to Heroku (Java App), you can use the following commands to push your changes to Heroku.
$ heroku create
Creating sharp-rain-321... done, stack is heroku-20
https://sharp-rain-221.herokuapp.com/ | https://git.heroku.com/sharp-rain-321.git
Git remote heroku added
this will create a git repository on Heroku and anything you push to this repo will deploy to Heroku Java App.
$ git push heroku main
Now you can open your application using the heroku open command.
Conclusion
This article is part of a series that explains the Heroku platform and how it enables developers to build, run, and operate applications entirely in the cloud. We also learned how to set up a Heroku Java App. We also explored the Aspose.Email Cloud, and used to set up an SMTP email client for email sending. Aspose.Email Cloud isn’t just for sending emails. Instead, it’s a Cloud SDK to send, receive, append, flag, and convert cloud emails & support to create a folder structure for email archiving in the cloud. This is easy to use and fast API, that doesn’t need to install the additional software. The API supports many programming languages, such as C#, Java, PHP, Python, Ruby & Typescript. I hope this article helped you.